
Here is what my make-up looked like after I did it!


Hope you like it! If you want to know how I got this look, scroll down and I will show you!
Disclaimer: Please ignore my chipped nail polish- that is freaking embarrassing and a testament to the fact that I cannot multi-task AT ALL. I was taking the nail polish off and then I thought "wow, I should do my make-up and take pictures and post a blog..."
Anyway- Enjoy!

Step 1: Make sure your face is clean, moisturized, and has all of the necessary base make-up that you usually apply (i.e., foundation, concealer). Today I finally got to test out that tinting lotion by Elf- and ladies, I love it! Go and get it if you can, it is only $3.00!


Step 2: Take some bronzer (the one I am using is MAC, but any will suffice), and apply the bronzer underneath your cheek bones (both sides of your face) to emphasize them and also apply a little bronzer on your temples to give you a more sun-kissed appearance.
 Step 3: Take a shimmer blush, or a blush of any kind and apply it to your actual cheek bones!


Step 4: Take a color that matches your hair, but is not too dark (if you are a brunette). Personally, I think my eyebrows are a little dark, so choose a color thats a shade or two lighter. It happened to be the only color I could find at the moment, so I went with it. Take a very thin brush and apply the color along the angle of your eyebrow and shape them as you wish. Then use an eyebrow shaping brush to brush/smooth it out.


Step 5: Pick a Base Color that is a purple shade (not to dark because it will be difficult to give your eye that smokey undertone!) Do you see the dark brown on the top row of the pallet I am holding in the second picture? I used the shimmery purple that is just to the right of it! Apply the base color all over your eyelid and apply a small amount right underneath your water line (as seen in the first picture. Also, choose a highlight! The highlight I chose was the color to the right of the purple I chose for my base color. This is a good peachy color that will add a subtle contrast and attract light. Apply your highlight directly underneath your eyebrow. And, I always like to blend it in a bit to my base color so that it looks more even and not so choppy, if you know what I mean! Also- take a little bit of your highlight color and apply it on the inner corner of your eye and drag it out to the start of your nose bone. Ask me a question if you don't understand this step and I will better explain it in the comment box- that was a lot!


Step 6: Pick a shade darker than your base color. Please refer to the full palette that I have posted on the 4th picture. I chose the color directly under the dark brown color that I made reference to in step 5! Apply that color on the crease of your eye-and drag the color into the inner corner of your eye. Blend the color with your base color and drag the color out as much as you want! If you want a more dramatic smokey eye- which I opted for. Add a tad bit of black to the dark purple mix (after applying the dark purple, carefully apply small amounts of black and blend and drag it out until you have the look you want!).
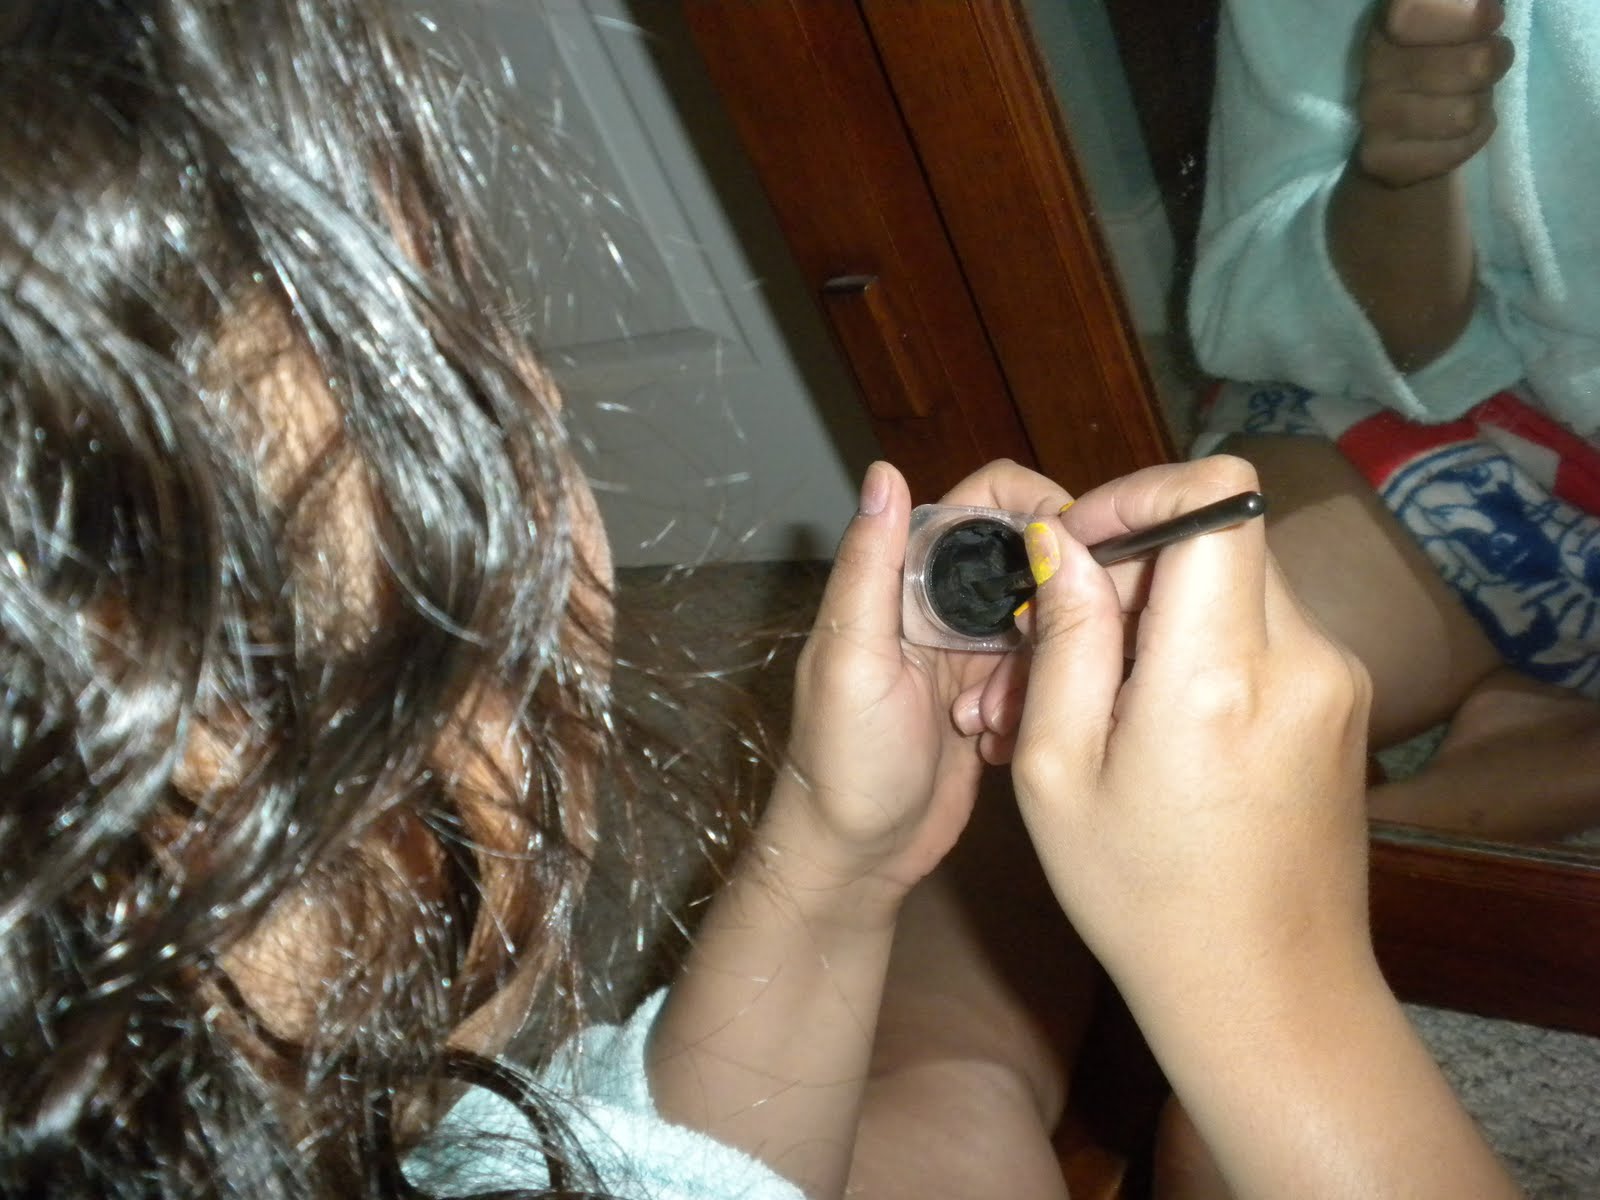


Step 7: Take your eyeliner (it can be liquid, pencil or whatever you fancy!; my eyeliner is clay based- I find it easier to apply with a brush because the eyeliner is easier to manipulate) and apply it to your top lid and your bottom lid, right on your tear line. I personally love a more dramatic eyeliner look- but you can apply it how ever you think looks good!
Step 8: Apply your mascara. I only applied mascara to the top lid lashes. This would also be a good time to put on false lashes, if you have them. I only have one pair left and I am saving them for my wedding but I think that they would look FABULOUS with this look!
Step 9: Apply a darker toned red lipstick. Whichever you are comfortable with! Remember choose a color and WORK IT! Also, to make your lips appear a little more full, apply a sheer lipgloss to your bottom lip only!
Step 10: Go out and STUNT!
I hope you enjoyed it! Please, let me know what you think!
And tell your friends to follow me! I want this blog to be interactive and I think the best way to do that is to spread the word! If you are liking what you see, let me know and tell everyone you know who lovers make-up. And let me know what you think I can do better. I love feedback!
I love that you put to much time into your posts, I only wish I had that much patience. It looks awesome all around! :D
ReplyDeletehaha, thanks- I don't know if I will do one that long in a while because hell, that took like over an hour to edit and put up- but it is so FUN! Thanks girl!
ReplyDelete